Wednesday, November 17, 2010

The Final Wallpaper

Wine Festival

Step 1 >> open a new file >> place the image in
Step 2 >> choose quick selection tool >> select the part which needed
Step 3 >> rename the layer
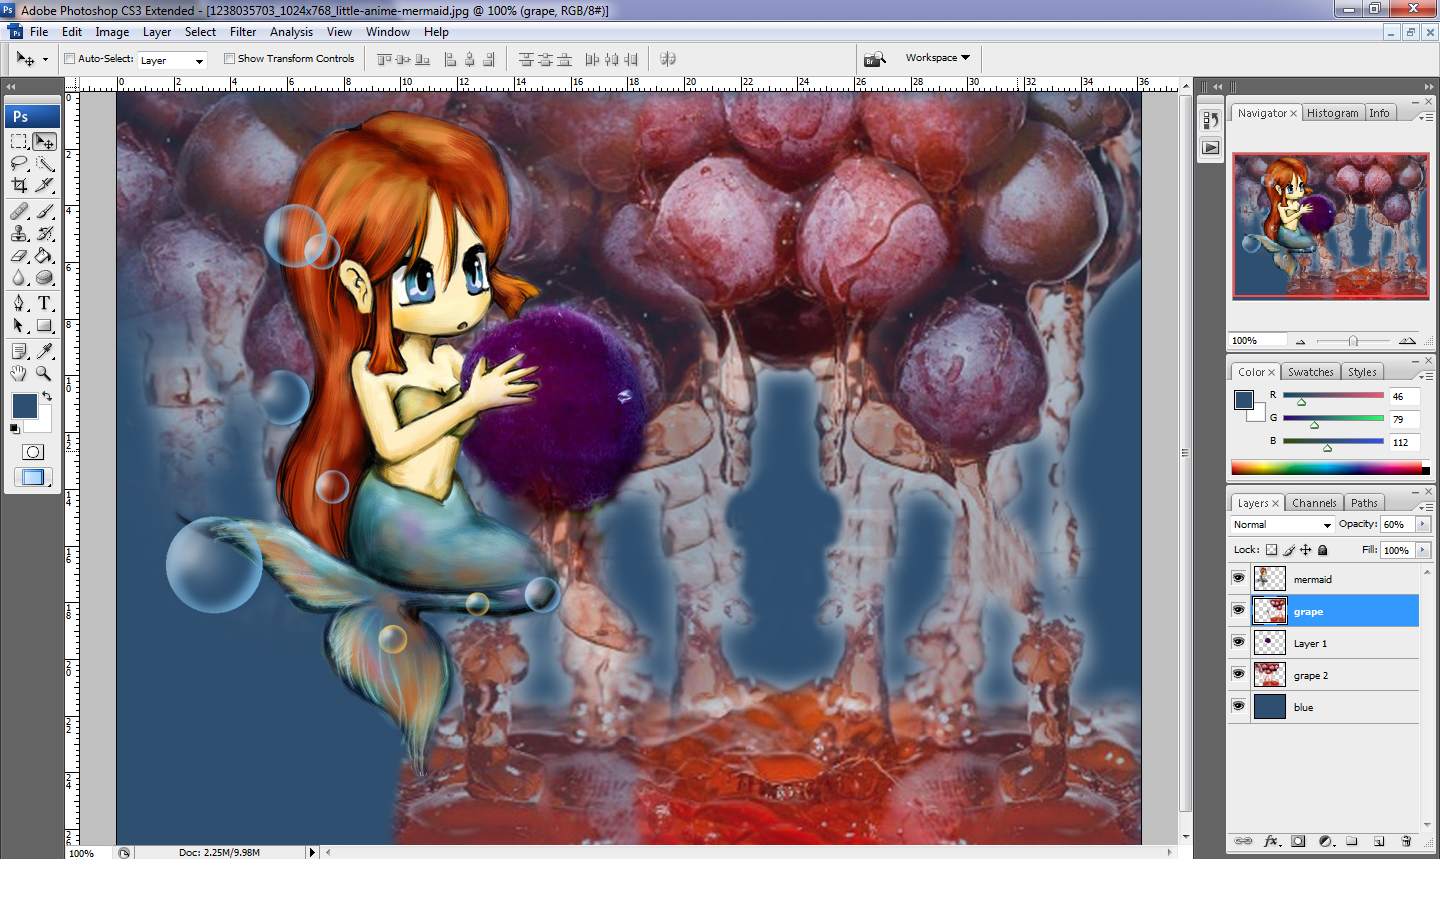
Step 4 >> place another image in
Step 5 >> choose quick selection tool >> select the part which needed
Step 6 >> choose clone stamp tool >> touch up the table
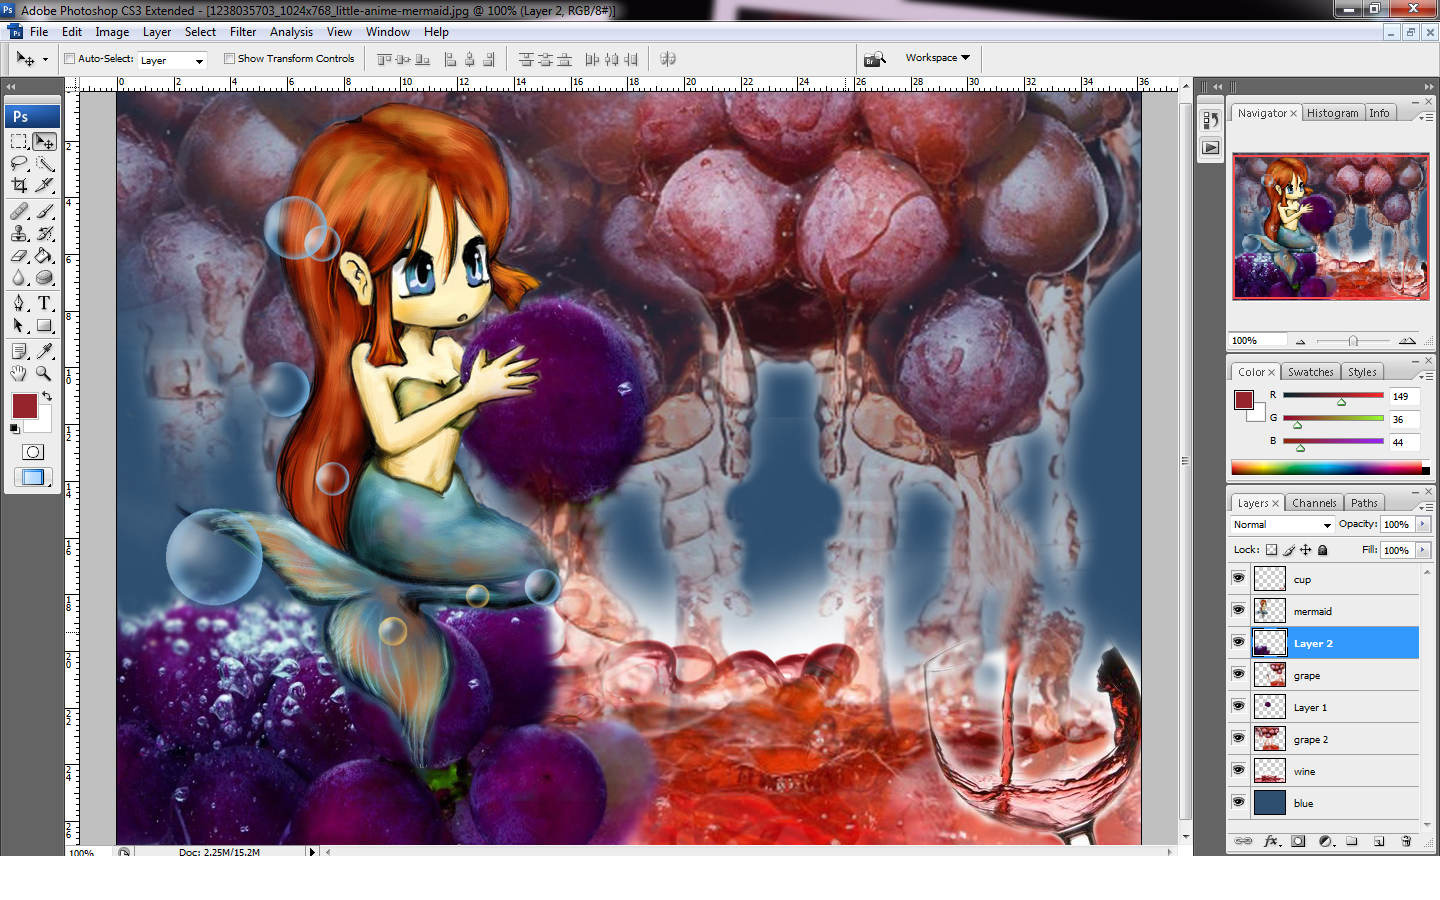
Step 7 >> place in another image
Step 8 >> choose quick selection tool >> select the part which are needed
Step 9 >> adjust the opacity
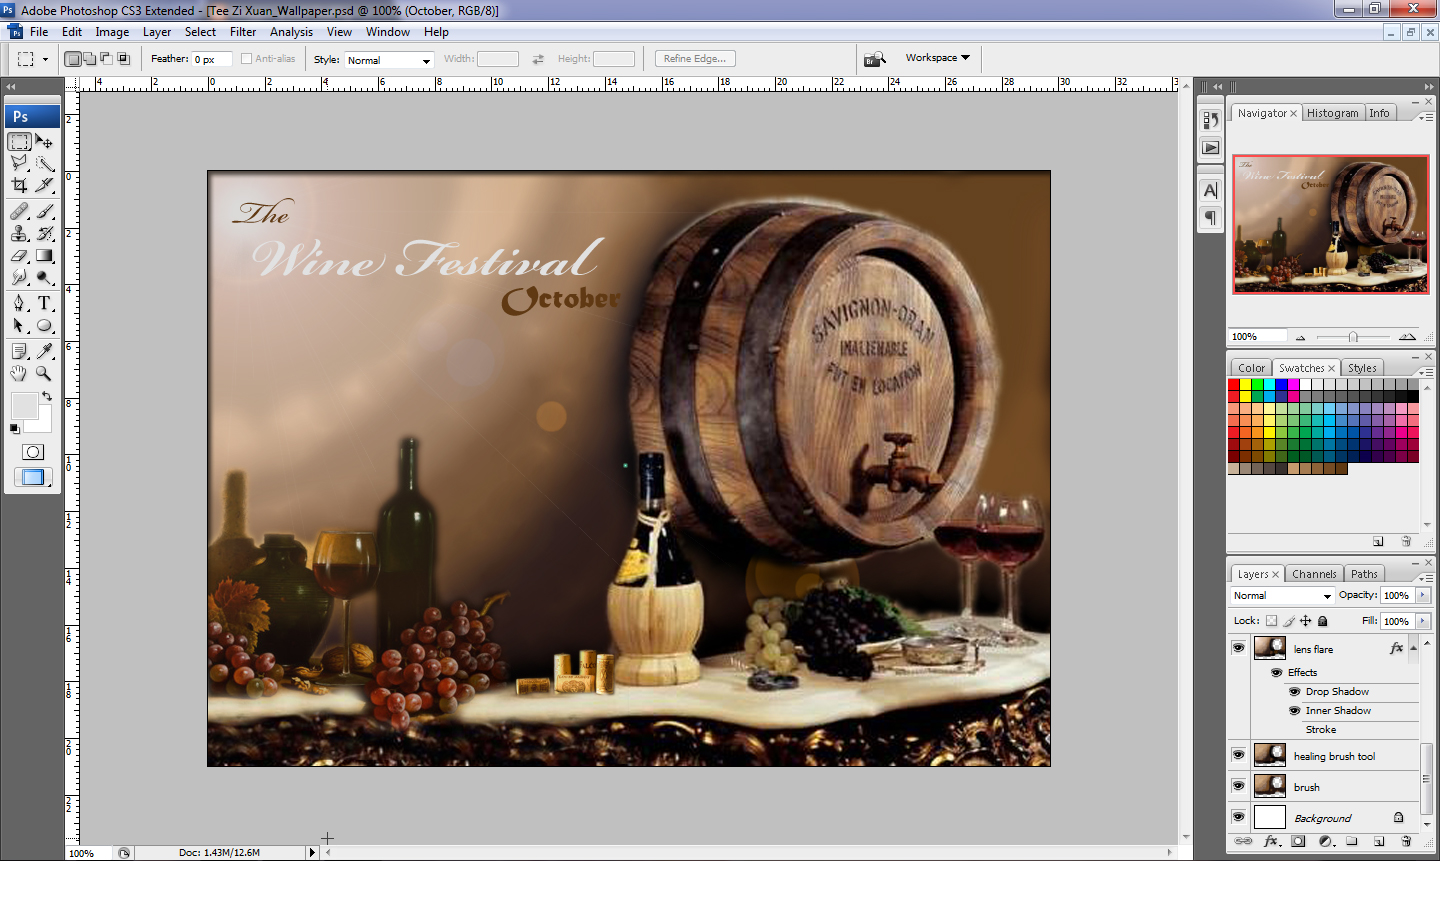
Step 10 >> open a new layer >> choose brush tool >> brush color
Step 11 >> move the layer downward
Step 12 >> choose healing brush tool >> blend the color
Step 13 >> filter >> render >> lens flare
Step 14 >> choose horizontal type tool >> type words
Step 15 >> effect >> drop shadow >> inner shadow >> stroke

DONE ^^

Saturday, November 13, 2010

e-wallpaper

Step 1 >> open the chosen image
Step 2 >> add a new layer >> use eyedropper tool to select the blue color >> choose paint bucket tool to paint the new layer to blue >> adjust the position of the little mermaid
Step 3 >> use brush tool to cover the little type
Step 4 >> choose clone stamp tool >> cover the little fish
Step 5 >> open the grapes image >> choose quick selection tool >> select only the needed part >> paste to the image
Step 6 >> use eraser tool >> erase the unnecessary place
 Step 7 >> adjust the opacity of the grapes 
Step 8 >> open another image >> use selection tool >> select one grape
Step 9 >> cut the grape >> give the mermaid to hold it >> use blur tool >> blur it a bit
Step 10 >> add in a water effect and adjust the color to the color of wine
Step 11 >> use selection tool >> add in a cup of wine
Step 12 >> add grapes in >> act like rocks >> use blur tool >> blur it 
Step 13 >> choose horizontal type tool >> type " Wine Festival " >> duplicate layer >> adjust the new layer of type >> filter >> liquify
DONE ^^

E~wallpaper ( research image )


Friday, November 12, 2010

Lesson 2 (part 3)

Step 1 >> open an image file
Step 2 >> adjust the hue/saturation
Step 3 >> choose pen tool >> draw a path >> save selection as channel
Step 4 >> Filter >> Blur >> Gaussian Blur
Step 5 >> choose lasso tool >> select the left side >> Gaussian Blur >> select the middle of the eye
Step 6 >> hue/saturation >> colorize

DONE ^^

Lesson 2 (part 2)

Step 1 >> open an image >> create duplicate channel >> one do with Grayscale
Step 2 >> click adjustment layer >> Hue/Saturation
Step 3 >> adjust the hue/saturation
Compare the Contrast 

Lesson 2

Step 1 >> open the image
Step 2 >> choose brush tool >> open a new layer >> color >> paint the image
Step 3 >> click path >> Fabric cut out 
Step 4 >> click adjustment layer >> Hue/Saturation
Step 5 >> create a new layer >> click color >> paint the fingernails
DONE ^^