Wednesday, October 27, 2010

Wine Festival ~

I was still wondering which festival should I use because the three option that i decided before seen like too commons, so I go to the Internet and have a researched. 
I found that one of the festival really attract me. It is Wine Festival.


     Wine Festival ?
Annual wine festivals celebrate viticulture on most continents and usually occur in October. Many of the festivals carry the Italian name of Vendemmia or Vendimia meaning the harvest of the grapes. In the United States of America festivals are often empowered by Little Italy organizations in support of Italian culture. Other Latin-influenced cultures of Roman origin have also embraced the celebration of wine among the various wine regions of the world.


    In Culture 
The grape, and the extraction of the juice to produce wine, have become meaningful parts of mankind's history that is more than a food or drink. It is both rich in flavor, nutrients, and an icon symbolizing virtues used in religion and culture. Although the alcohol content could lead to intoxication, the festivals embody the enlightened spirit of mankind.


Many competition are having during the Wine Festival.
wine competition is an organized event in which trained judges or consumers competitively rate different vintages or bands of wine. There are two types of wine competitions, both of which use blind tasting of wine to prevent bias by the judges.


Type of wine competition
The most common form of wine competition is intended to obtain valid comparisons of wines by trained experts. The awards are given to groups of wines in various categories on the basis of the blind tasting. The awards are frequently bronze, silver, gold, and double gold medals. However, ribbons of various colors are also sometimes used.These competitions often include a "Best of Class" award, producing a clear category winner among those vintages awarded a gold medal, for example the Los Angeles International Wine & Spirits Competition.[1] The other form of competition is most often organized by wine lovers and is consumer-oriented. The judges also evaluate the wines blind. However, instead of giving numerous awards, the wines are ranked by number from high to low in each wine category, a process known as ordinal ranking. Thus, there is only one first place winner, one second place, one third place, and so on down to the lowest place.


Wine Competition

  • New York Wine Tasting (1973) : 14 experts, including France's Alexis Lichine, ranked 23 Chardonnays from France, California, and New York State.
  • San Diego Wine Tasting (1975): Eight Bordeaux and two California wines were evaluated by 28 judges.
  • Paris Wine Tasting (1976) : This notable wine competition is briefly described above.
  • San Francisco Wine Tasting (1978) : The same wines earlier evaluated in the Paris competition were again judged.
  • Concours Mondial de Bruxelles : “wine world-championship” with more than 6000 participating products from the four continents. As a whole, these samples represent more than 500 million marketed bottles.[3]
  • Wine Olympics (1979) : A French food and wine magazine organized a competition of 330 wines from 33 countries evaluated by 62 experts.
  • Great Chardonnay Showdown (1980) : A total of 221 Chardonnays from around the world were evaluated by 25 judges.
  • Ottawa Wine Tasting (1981) : In the Ottawa competition, experts evaluated 13 wines from France and California.
  • French Culinary Institute Wine Tasting (1986) : On the tenth anniversary of the Paris competition, eight judges evaluated nine of the ten red wines earlier ranked.
  • Wine Spectator Wine Tasting (1986) : A different 'tenth anniversary' competition.
  • The World Wines Competition : An annual double blind competition established in 1991 in which the top red and white wines are separately ranked one to four by experts from six continents.
  • Grand European Jury Wine Tasting (1997) : European jury tasted three vintages (1989, 1992 and 1994) of 27 Chardonnays from seven countries.
  • Ottawa Wine Tasting (2005) : Eighteen wines (six each from Bordeaux, Ontario, and British Columbia) were evaluated by 35 expert tasters and monitored by an organization responsible for marketing French wine.
  • The Tasting that Changed the Wine World : "The Judgment of Paris' 30th Anniversary. A 30-year anniversary replication of the 1976 Paris competition.
  • The Asian Wine Competition (Shenzhen, China, 2010)(wine) :It's aim is guiding the development of grape and grape wine in Asia , supervising and improving the quality of the grape and grape wine, promoting the exchange of vine and wine industry technology and relevant talents.
  • Hong Kong International Wine & Spirit Competition : It is the first truly Asian competition designed specifically for the tastes and consumption preferences of the Asian market.
  • Grand Collections (Moscow, Russia, 2008) : The International Wine and Spirit Tasting Competition “Grand Collections” was established to recognize and encourage best wine and spirits brands in different price segments at the Russian and foreign market.

Different places will also have their own ways to celebrate this festival.

Roman festivals (Italian, Spanish, and Mediterranean)

Australian festivals

United States festivals

Other festivals

Fields of Grape Vines
poster of wine festival
16th century wine press

I feel that this festival is fresh & interesting. Hope that I can done Wine Festival E-wallpaper greatly, let everybody know about this festival.

Some Basic Tutorials

1. Working with Images

Cropping
Download this image or open any image in your Photoshop. Select the Crop Tool  (Press 'C' to Select or Select it with your Mouse) and draw a selection on your image as shown below. (To make a selection click and drag with your mouse)
Make a selection


After you made your selection press Enter


Result


Cropping images is actually that easy in Photoshop, just select the area you want to keep and press Enter on your keyboard, and you are done. You can also press on the Move Tool  instead of pressing Enter on your keyboard, it will prompt you a window similar to the one shown below. If you are satisfied with your selection just press on the Crop button and your image will be cropped.


Copying & Pasting
Download this image or open any image in your Photoshop. Select the Rectangular Marquee Tool  (M) and make a selection on the image as shown below.
Make a selection and press Ctrl + C or go to Edit > Copy


Presss Ctrl + N to open a new window or go to File > New and press OK


And now press Ctrl + V to paste the copied image or go to File > Paste


Whenever you make a selection on the image and copy that area, Photoshop automatically saves the dimensions of that selection in its memory. Thus when you open a new window, dimensions of the image will already be in the Width and Height fields.

Image Adjustment
I will not explain how to adjust images in this section, but will point out the tools that is used for image adjustment. You can find related tutorials for image adjustment in the Photoshop Tutorials section.
Go to Image > Adjustments. You will see the menu as shown below.

Go ahead and try some of the effects on your image, try to change the Brightness/Contrast, Auto Color...etc. Sometimes using Photoshop's pre-defined Image Adjustment options will solve your problem, try using Auto LevelsAuto Contrastor Auto Color on your photos before you proceed with other options.

2.Working with Texts
Open a new window Ctrl + N (choose a bigger dimensions for the window; width 400 and height 300) and press OK
Select the Horizontal Type Tool  (T) and click on the window that you just opened and type something.

If you want to make changes to your text, highlight it and change the properties from Options Panel

After you are done making changes click on the Move Tool (V)  and by clicking on your text position it on the top left corner of the window.
Note: When working with Texts it's important to click on Move Tool (V) after you are done typing. Many newbies make this mistake of not clicking on Move Tool or on any other tool than the Text Tool and are literally stuck in the Photoshop.

To move your text from one place to another choose the Move Tool and just click on your text with your mouse and without releasing your mouse move the text to the desired place.
There is another way to change the properties of the Text, in addition to the Options Panel we have discussed and that is by using Character Panel. If you don't see the Character Panel go to Windows > Character to bring up the Character Panel.
Below is the Character Panel screenshot, if you change any of the properties in this window it will be reflected on your text. However for it to be effective you need to be on the correct layer, otherwise you will not see any changes on the text.Layers will be our next discussion.


3. Working with Layers
Photoshop uses "Layers" for managing multiple (separate) objects in the same file, to open your Layers Panel go toWindow > Layers. If you have used other image editing programs that use the same "Layers" concept. Then this should be familiar to you. If you haven't then it's an easy concept to understand, just think of the Layers as a "Stack of Books" on the floor, and imagine yourself as looking at this stack of books from top.
Firstly, when you look at this stack from top, you will be able to see the cover of the first book which is on top of all the other books without a problem, however when you try to see the cover of the second book that is below the first book, you will notice that most of it are not visible to you. Because it's being blocked by the first book. And when you look at the third book's cover it will be even more hidden from your eyes. So think of Layers in Photoshop as a Stack of Books, one layer representing one book or level in the stack.

Layer that is on top

As you can see from the image above, the blue circle is located on the Top Layer, I have named the Layer as "Circle", and red rectangle is on second layer, I have named this layer as "Rectangle". As we have discussed earlier, book that is on top of the stack will cover the layers below. Thus you see the Circle covering Rectangle. And our background is a white color which is visible from the sides of the circle and rectangle.


Changing layer positions
Here I have moved Red Rectangle to Top, as you see now Red Rectangle is on top and it covers the Circle. To move the particular layer just click on it with your mouse and while still holding your mouse move it up or down. Or you can click on the Layer that you want to move and use shortcut keys on your keyboard to move it up ( Ctrl+] ) and down ( Ctrl=[ ).


What is Active Layer
Active layer is the layer which you are working on, for example from the image below we can see that the Active Layer is the Rectangle Layer - active layer will always be highlighted (selected).

Note: And if you want to move particular object you should select it's respective layer first, then only you can move it. Otherwise you will end up moving something else.
The "Eye" icon on the left of the layers means that the layers are currently visible, if you toggle them off then the object will also dissappear (will become invisible) from our window.

As you can see from the screenshot above, I have deselected/removed the eye icon from the layer Rectangle. We still can see the rectangle in the Layers Panel but it is not visible on our image - we can only see the blue circle.


4. Saving for Web (as JPG or GIF)
After you have completed your work I believe you would want to save it as .jpg or .gif (or any other format that Photoshop supports)
To save your image for web go to File > Save for Web or press Alt+Shift+Ctrl+S and you will see an identical window like this one below.

From here you can change the image type to JPG, GIF, PNG and WBMP. You can change the quality of the image as well, the higher the quality the bigger the size will be,
Note: Take the size into account when saving big images for web usage. Because, the higher is the quality of the image the bigger the size will be. And as you know big images will load very slow on internet.

Tuesday, October 26, 2010

Tools and Options Panel


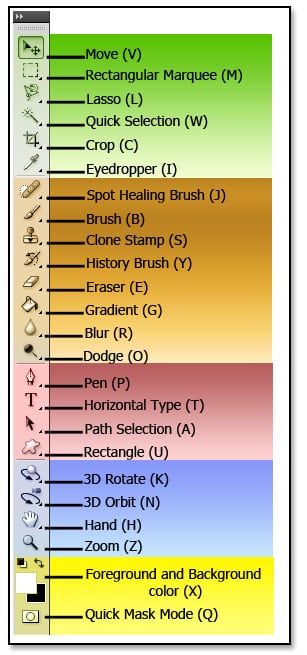
Open your Photoshop. If you don't see Tools Toolbar already then go to Window > Tools
Below is the screenshot of the Tools panel. If the tool has a small trianlge at the bottom corner it means it has more than one tools. To see these options just click on the tool and hold your mouse for a few seconds, and you will see the options on the popup window as shown below.

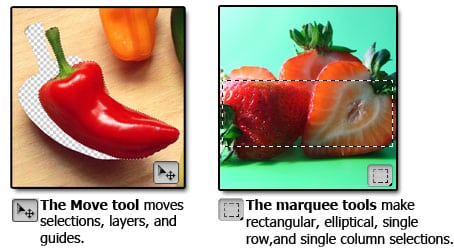
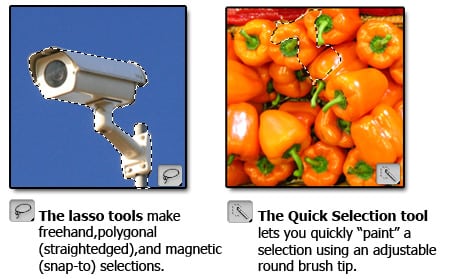
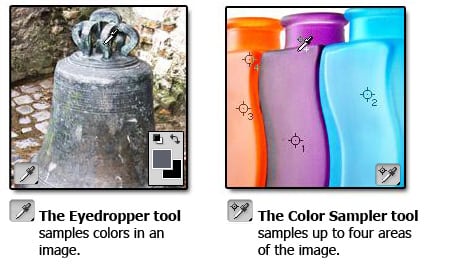
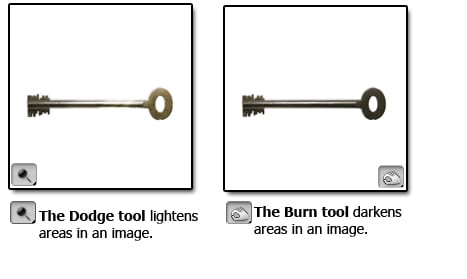
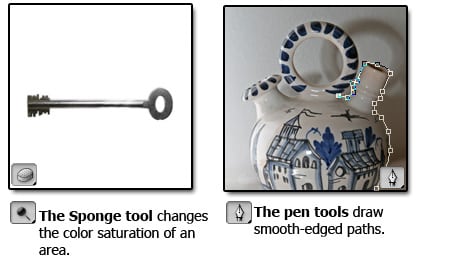
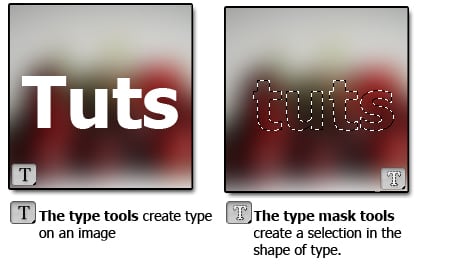
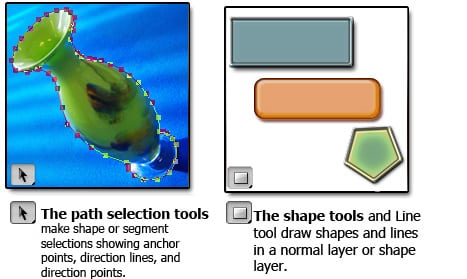
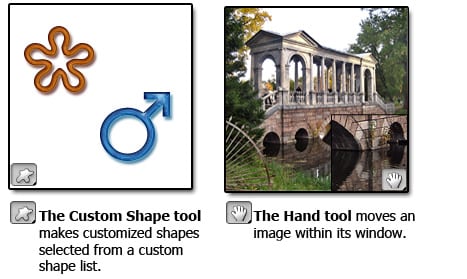
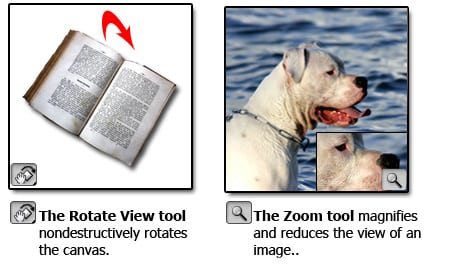
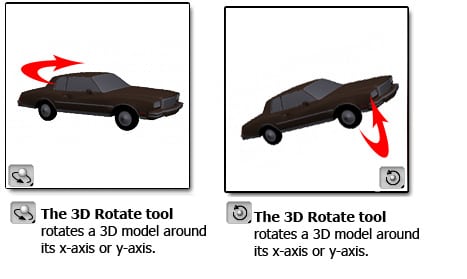
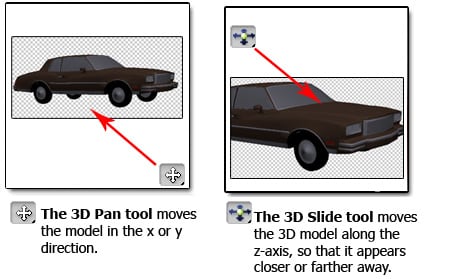
Let's go through one tool from each group and their functions. The letters inside the brackets are the shortcuts for the particular tool, when you are in Photoshop and press V for example it would select the Move Tool.

tool1 Tools Panel Overview
tools1 Tools Panel Overview
lasso3 Tools Panel Overview
sampler Tools Panel Overview
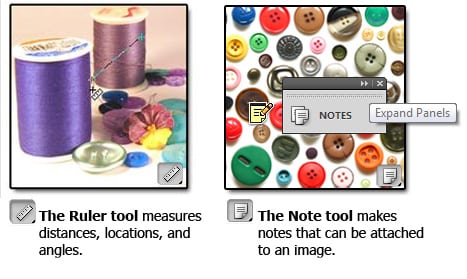
ruler Tools Panel Overview
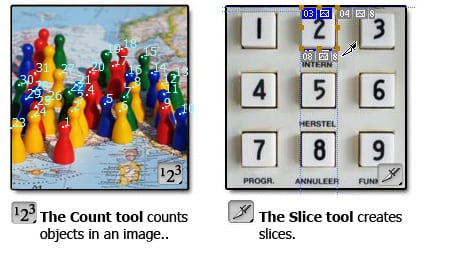
count Tools Panel Overview
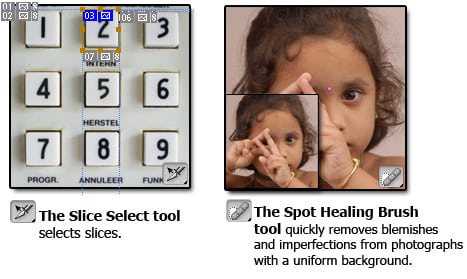
healing1 Tools Panel Overview
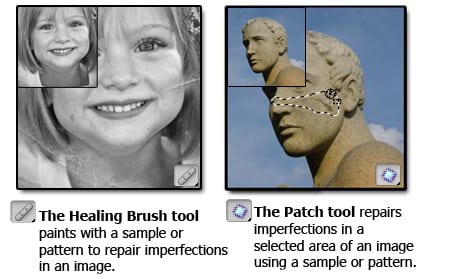
patch Tools Panel Overview
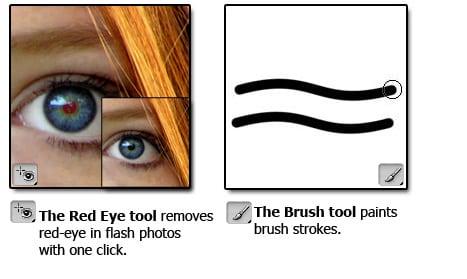
brush Tools Panel Overview
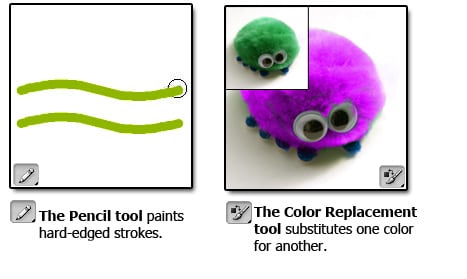
color Tools Panel Overview
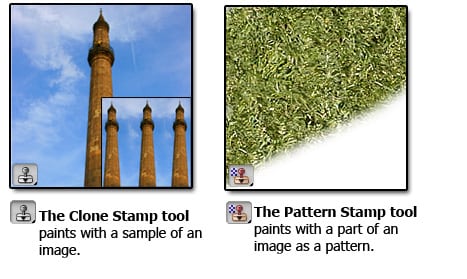
clone Tools Panel Overview
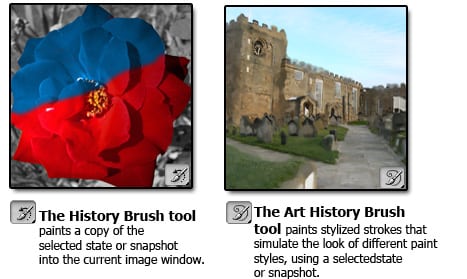
history Tools Panel Overview
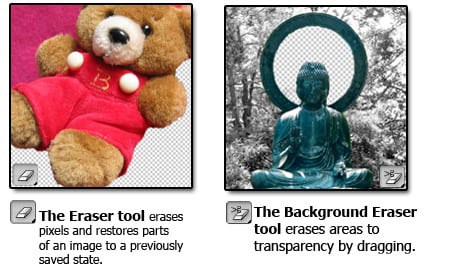
eraser Tools Panel Overview


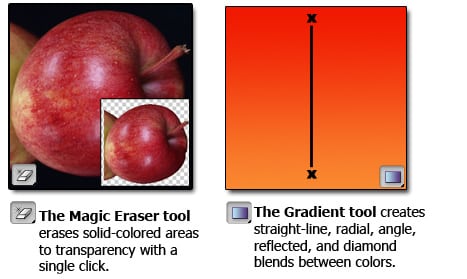
magic Tools Panel Overview
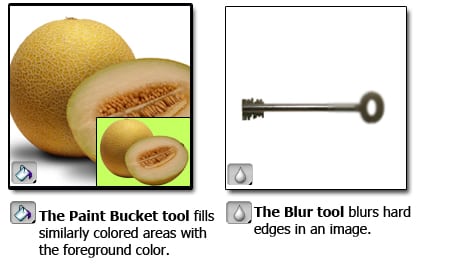
blur Tools Panel Overview
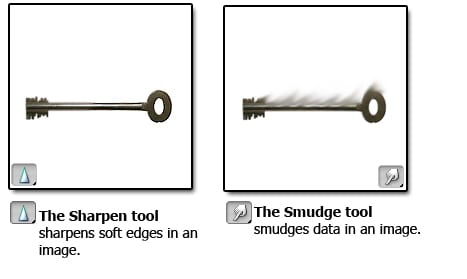
smudge Tools Panel Overview
doge Tools Panel Overview
pen Tools Panel Overview
text Tools Panel Overview
type1 Tools Panel Overview
hand Tools Panel Overview
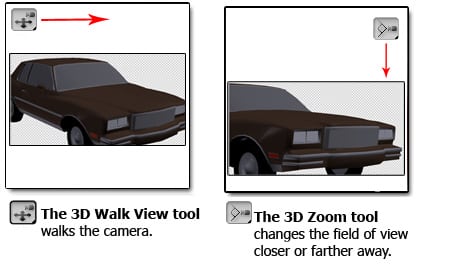
zoom1 Tools Panel Overview
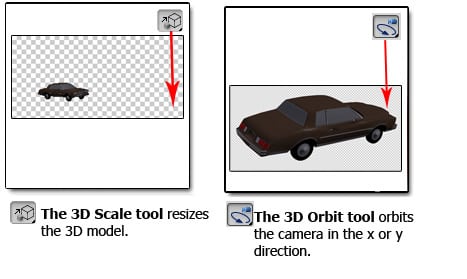
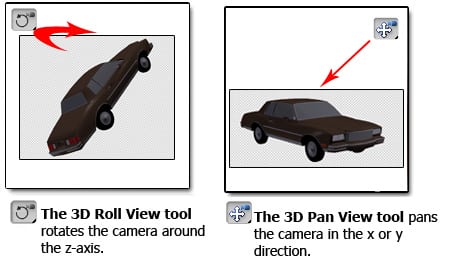
3drotate Tools Panel Overview
3dpan Tools Panel Overview
3scale1 Tools Panel Overview
3droll Tools Panel Overview
3dwalk Tools Panel Overview


Options Panel
As you see below from the screenshot below, Options Panel is highlighted with light-red. Whenever you switch from one tool to another, Options Panel will change accordingly. Currently as you can see Brush Tool is selected in the Toolspanel, and in the Options Panel you can see the properties of the Brush Tool, namely : Brush Size (Type), Mode, Opacity and Flow.
Just remember to look up to the Options Panel when you choose a particular tool, because sometimes if something is selected or unselected in the Options Panel, you might not be able to use that particular tool properly. For example Opacity of the color might be set to "Zero" in the Options Panel, in that case anything that you draw would not show up since 0 means invisible.